
There are all kinds of ways to use backgrounds in food photography. Here, I list some of my personal favorite solutions to fit any type of budget!
Food photography is one of my favorite passions. But we all know getting into food photography is expensive. I still firmly believe it’s not the equipment that makes a great photo, but the photographer. This list is full of photography background options for all budgets.
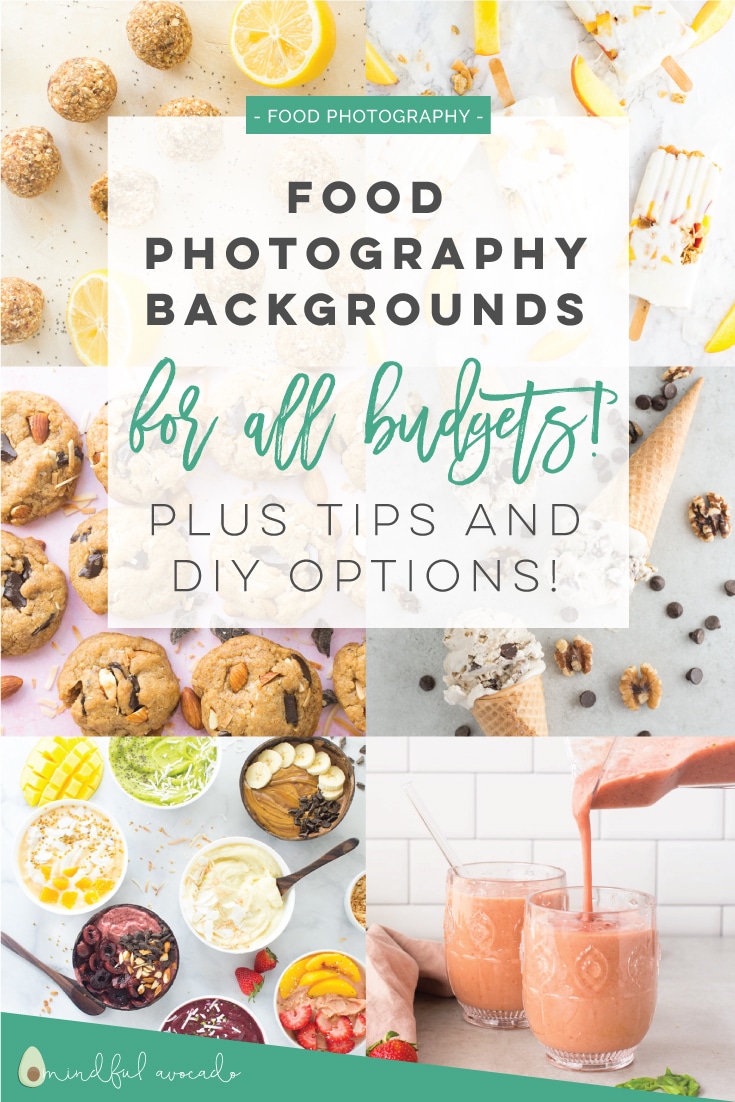
Food Photography Backgrounds
1. Colored paper
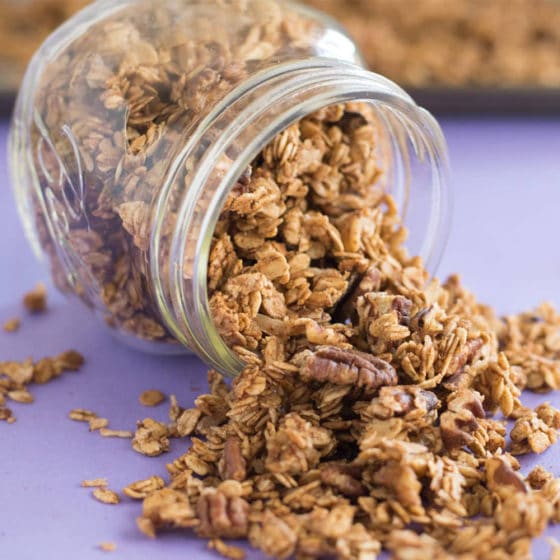
This is probably the most cost saving solution and you can get some stunning photos with paper! When I first started blogging, I pretty much only used color paper. Now, my style has evolved into the clean, white and bright look, but I still love the look of colored backgrounds.
You can get colored paper usually at a local art supply store. I purchased most of mine from Flax in the Bay Area.
Pros: Cheap, get a lot of options, light to store
Cons: Gets ruined fairly quickly (food stains)
2. Foam board + contact paper

This was my first method of creating food photography images using a marble background. I purchased a roll of contact paper from Amazon and adhered it to a piece of foam board I purchased at Michaels.
Contact paper comes in all different options. I’ve also made a background with dark wood and white wood contact paper.
Pros: Cheap, super lightweight
Cons: Contact paper can look shiny and fake
3. Tiles
Another cheap solution lies in your home improvement store – tiles! I purchased 12″x24″ tiles from Home Depot for about $3 each depending on the tile to great beautiful realistic backgrounds. I used a glue gun to glue felt on the bottoms to prevent them from scratching my table.
Pros: Cheap, very realistic looking
Cons: Heavy
4. DIY Background
If you’re pretty crafty such as myself, I encourage you to make your own backgrounds. While this tutorial is not as cheap as the options mentioned above, the results are great and they are comparable to some of the expensive boards out there.
Pros: Look realistic, cheap compared to high-end backgrounds out there
Cons: Big and hard to store if you live in a small space
5. Vinyl backgrounds
Okay, this option is currently my personal favorite background choice. They are cost-effective, super lightweight, easy to clean, and look great.
My favorite brands are Ink and Elm and Capture By Lucy (Capture by Lucy ships from the UK but the delivery time is FAST! Could not recommend enough!)
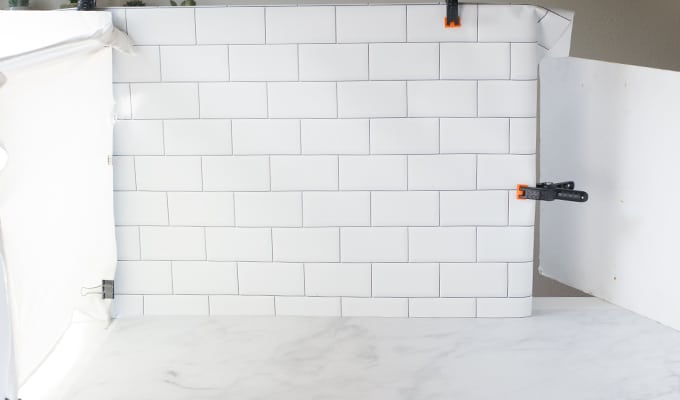
Tips: I will use clips to hold a background onto a piece of foam board to create a nice scene. I love the subway tile for this.
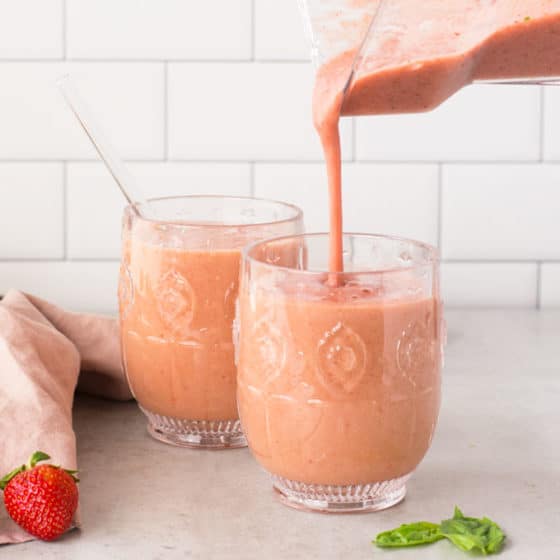
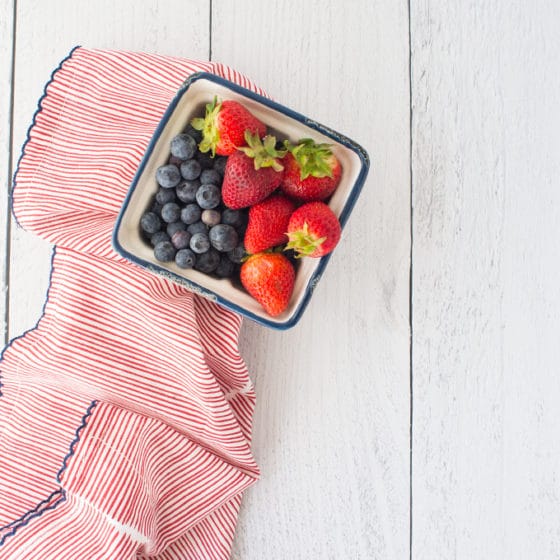
This picture was taken with a vinyl backdrop on the table surface and a different vinyl background clipped onto foamboard for the background.
Pros: Cheap, lightweight, easy to clean, looks realistic
Cons: Store them laying flat or else they can crease
6. Lightweight boards
These options are fairly new and I’m loving them! All the same benefits of vinyl backgrounds except they are boards so a little more sturdy.
Bessie Bakes Backdrops – so many pretty options and they work great! I have the marble and abstract concrete backgrounds.
Replica Surfaces which started on Kick Starter is a great option.
Pros: Cheap, lightweight, easy to clean, looks realistic
Cons: Can be expensive for starting out to build your collection
7. Erickson Surfaces
I like to think of these as the holy grail of food photography background. Setting you back nearly $200 per board, they are definitely the most pricy option but they look STUNNING.
I don’t personally own my own Erickson Surface, but it’s been on my wishlist quite some time. In the food photography industry, these boards are well known to be the best. With cheaper, lightweight options out there now, I personally think you can save money with cheaper options and get more variety.
Pros: Looks amazing
Cons: Expensive, heavy, long shipping time.
8. The Real Deal
If weight and price is not a factor for you and you are really just looking for the most realistic, real wood and marble are always options.
You can purchase a marble slab or wood to use as backgrounds. With wood, you can even finish it to any stain you’d like!
I don’t personally love this method as I live in a tiny apartment and space is a concern for me, but it’s still worth mentioning!
Pros: Realistic (because it’s real, duh)
Cons: Expensive, heavy, tough to store
New and Noteworthy
Brooke Lark also developed her own food photography backgrounds called Best Ever Backdrops that are similar to Replica Surfaces. I haven’t tried them yet, but they are worth mentioning.
Bessie Bakes Backdrops. Again, these are similar to Brook Lark’s and Replica Surface. I have not tried them yet, but I love how realistic her backgrounds look!
Conclusion
All these options are great for food photography for every budget. If you are just getting started, I recommend the colored paper or contact paper. If you are looking into investing in some props that will hold up for time to come, definitely recommend vinyl backgrounds!
Please note this post contains affiliate links which do not impact the cost to you but gives me a small commission. Thank you for your support!
Related:
How to Make a Photography Light Box
Easy DIY Food Photography Backgrounds
Color Theory for Food Photography
My Food Photography Equipment
What’re some of your favorite food photography backgrounds? Any that I forgot to mention? Let me know in the comments below!
It looks like you are a real professional and have done a great job on this site! I’m delighted, because you collected almost all the necessary information about professional photography.
Love the idea to use contact paper & foam board for a faux backsplash, thanks!
Yes, this idea is super budget-friendly!
Happy New Year! Thank you for sharing. Just wondering when using contact paper and foam board, if it is possible to apply 2 strips side by side ( boards are 20X30 and paper is 16X80 . Or does it look weird?
Thanks
It depends on if there’s a pattern in the contact paper and if you can get it to line up. I think it’s worth a try though!